
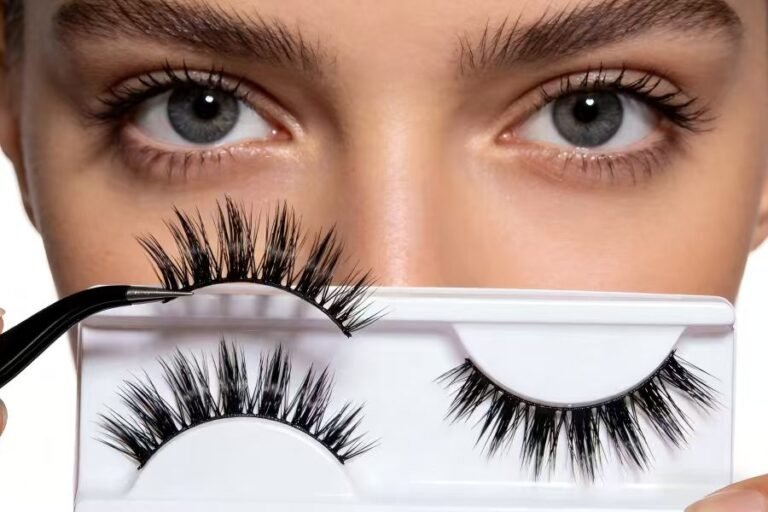
False lashes have evolved far beyond simple strip lashes. In recent years, DIY lashes have become one of the fastest-growing beauty trends, allowing users to achieve salon-like lash extensions at home—without the high cost or appointment.
What is diy lash?
DIY lashes are small cluster lash segments applied underneath the natural lashes using a bond-and-seal system. They create a customizable lash extension look that can last several days and are designed to be applied at home.
Why DIY Lashes Are Suddenly Everywhere
If you’ve spent time on beauty TikTok or Instagram recently, you’ve probably noticed creators talking about DIY lash extensions, at-home lash clusters, or underlash systems.
This trend did not appear overnight.
According to a 2024 beauty market report by Grand View Research, the global false eyelash market was valued at USD 1.7 billion in 2023 and is expected to grow at a CAGR of 6.7% from 2024 to 2030. A major part of this growth comes from at-home beauty solutions, especially DIY lash systems.
More reading:false-eyelashes-market
Several consumer trends are driving this shift:
• Rising salon lash prices
• Demand for convenient beauty routines
• Social media tutorials that simplify application
• Improved lash cluster technology
Traditional salon lash extensions can cost $80–$300 per set and require regular refills. DIY lashes offer a flexible alternative that many consumers find more practical.
For beginners, they combine the dramatic look of extensions with the simplicity of strip lashes.
What Exactly Are DIY Lashes?
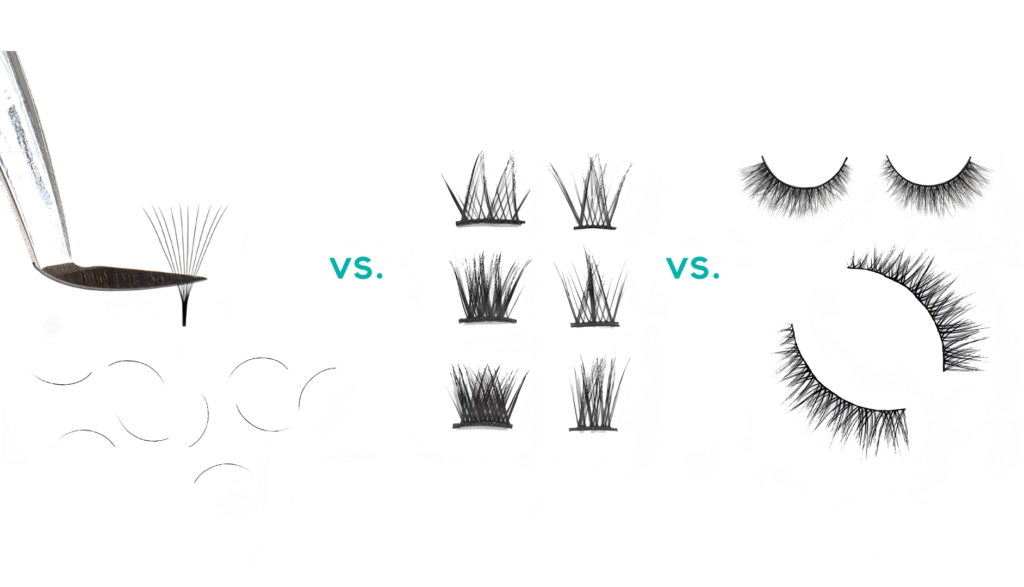
DIY lashes are small lash segments (clusters) designed to be applied underneath the natural lashes, rather than above them like traditional strip lashes.
Each set usually includes several cluster lengths such as:
- 8mm
- 10mm
- 12mm
- 14mm
- sometimes up to 16mm
By mixing different lengths, users can create custom lash maps similar to professional lash extensions.
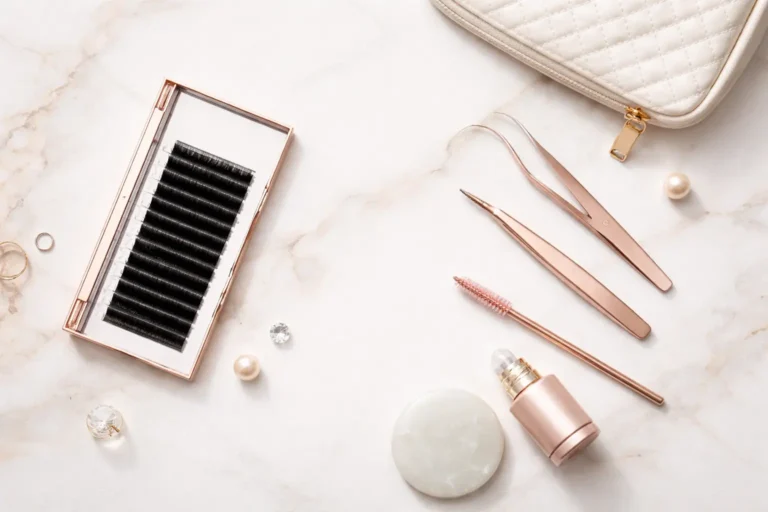
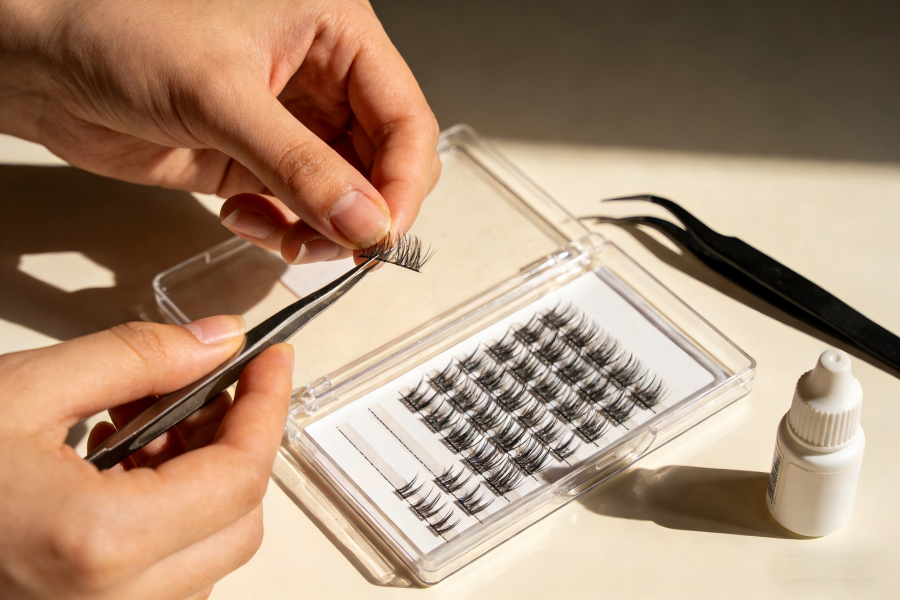
A typical DIY lash system includes:
• Lash clusters
• Lash bond (adhesive)
• Seal or coating
• Lash applicator tool
The clusters are placed along the lash line from the outer corner inward, allowing the wearer to design their own style.
The final effect can resemble:
- hybrid lash extensions
- wispy lash styles
- doll-eye lash mapping
- cat-eye lash mapping
DIY Lashes vs Strip Lashes vs Salon Extensions
Understanding the difference between these three options helps beginners choose what works best.
| Feature | DIY Lashes | Strip Lashes | Salon Extensions |
|---|---|---|---|
| Application | Under natural lashes | Above lash line | Attached individually |
| Skill level | Beginner-friendly | Very easy | Professional only |
| Longevity | 3–7 days | One day | 2–4 weeks |
| Cost | Low | Low | High |
| Customization | High | Low | Very high |
DIY lashes sit in the middle ground between convenience and customization.
They offer more flexibility than strip lashes while remaining much easier than professional extensions.
More reading about Salon Extensions
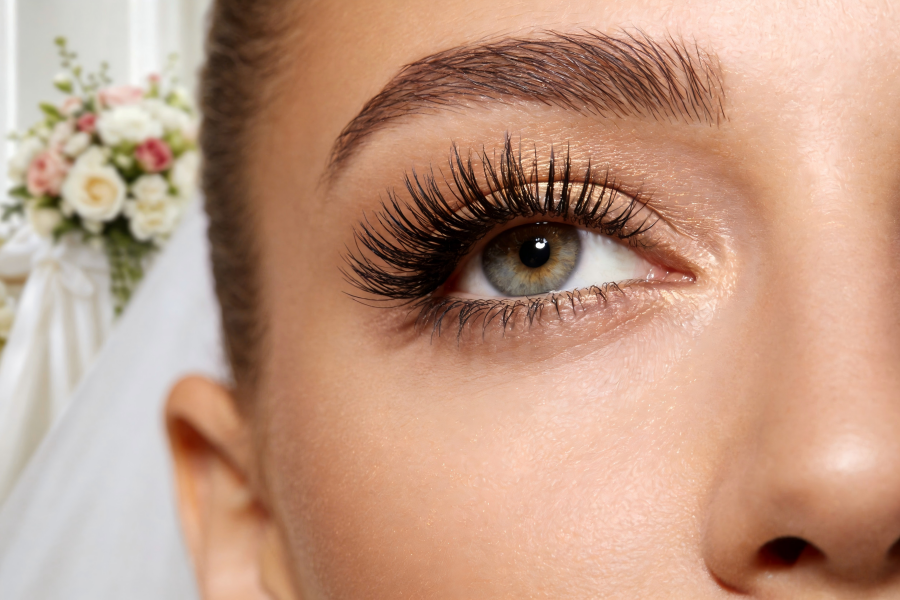
The Secret Behind DIY Lash Comfort
One of the biggest reasons DIY lashes feel more natural is where they are applied.
Traditional strip lashes sit on top of the eyelid, which can sometimes feel heavy or visible.
DIY lashes are placed underneath the natural lashes, close to the lash root.
This placement provides several advantages:
• the lash band is hidden
• the lash line looks more natural
• the clusters blend better with natural lashes
Because of this technique, many users say DIY lashes feel lighter than strip lashes.
Some lash manufacturers now design clusters with ultra-thin lash bands (0.2–0.3mm) to make them even more comfortable.
A Little-Known Fact: Lash Mapping Changes Everything
Many beginners think lash clusters are applied randomly.
In reality, lash mapping makes a huge difference in the final result.
Lash mapping is the method of arranging different lash lengths across the eye to create a specific style.
For example:
Cat-eye mapping
8mm → 10mm → 12mm → 14mm
Doll-eye mapping
10mm → 12mm → 14mm → 12mm
Wispy mapping
10mm → 12mm → 10mm → 14mm
Professional lash artists use mapping in salons, but DIY lash users can apply the same concept.
If you’re new to lash mapping, you might also enjoy reading:
→ Eyelash Extension Thickness Guide
→Eyelash Extension Curl, Diameter, Thickness & Length Guide
Understanding eye shape can make DIY lash styling much easier.
Why DIY Lashes Became Popular on Social Media
The DIY lash boom was heavily influenced by beauty creators.
Platforms like TikTok and YouTube have millions of views on tutorials such as:
- “5 minute DIY lash extensions”
- “Salon lashes at home”
- “Beginner lash clusters tutorial”
According to Statista, beauty content on TikTok reached over 150 billion hashtag views globally in 2024.
More reading about Cosmetics industry
Short videos helped simplify lash application techniques that once seemed difficult.
Today, many users can learn the basics in just a few minutes.
How Long Do DIY Lashes Last?
Most DIY lash systems last 3 to 7 days, depending on:
• adhesive quality
• application technique
• daily habits (oil-based products, rubbing eyes)
Some advanced users report wearing them up to 10 days, although manufacturers often recommend shorter wear times for safety.
To extend longevity:
- avoid oil-based makeup removers
- brush lashes daily
- avoid excessive moisture for the first 24 hours
Proper removal is also important. Lash clusters should be removed with lash remover or oil-based cleanser, not pulled off directly.
Maybe you are interested in How Many Lash Extensions Do You Lose a Day?
Are DIY Lashes Safe?
When used properly, DIY lashes are generally safe.
However, there are a few important guidelines beginners should follow.
- Never apply clusters directly on the waterline
- Use adhesives designed specifically for lashes
- Avoid using professional extension glue (cyanoacrylate-based)
- Remove lashes gently
The American Academy of Ophthalmology also recommends avoiding products that cause irritation or redness.
Source:
https://www.aao.org/eye-health/tips-prevention/fake-eyelashes
If irritation occurs, lashes should be removed immediately.
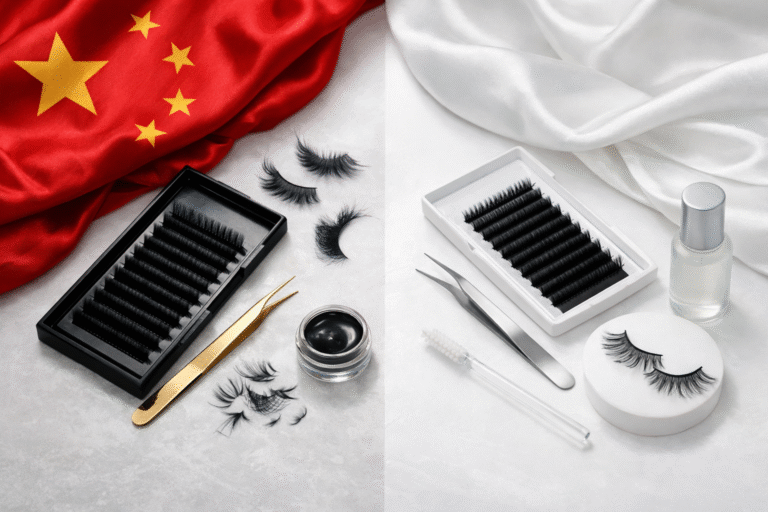
How Lash Manufacturers Are Improving DIY Lash Technology
The DIY lash category has grown rapidly in the past five years.
Manufacturers are constantly improving:
• lash fiber softness
• curl retention
• ultra-thin lash bands
• pre-mapped lash cluster sets
Some premium cluster lashes now use Korean PBT synthetic fiber, which offers:
- lightweight feel
- stable curl
- strong durability
These improvements make DIY lashes look closer to professional extensions than ever before.
Brands and suppliers focusing on high-quality materials are helping push the industry forward.
For buyers looking for premium cluster lashes, wholesale suppliers like LashVee are developing lightweight DIY lash collections designed for both beauty brands and retail markets.
Who Are DIY Lashes Best For?
DIY lashes are ideal for people who want:
• salon-style lashes without salon prices
• customizable lash looks
• flexible beauty routines
They are especially popular among:
- beauty beginners
- frequent travelers
- lash lovers who want quick daily glam
For beauty brands and retailers, DIY lashes also represent one of the fastest-growing product categories in the lash market.
Many brands are expanding their collections to include:
- DIY lash kits
- lash clusters
- bond & seal systems
If you’re exploring different lash styles, you may also like:
→ How to Choose a Reliable Lash Manufacturer
This guide explains what to look for when sourcing quality lashes.
Final Thoughts
DIY lashes have transformed the way people approach eyelash extensions.
They combine the customization of professional lash services with the convenience of at-home beauty routines.
As materials improve and application techniques become easier to learn, DIY lashes are likely to remain a major trend in the beauty industry.
For beginners, the key is simple:
Start with lightweight clusters, experiment with lash mapping, and practice gentle application techniques.
Once mastered, DIY lashes can deliver beautiful, salon-like results—without ever leaving home