
How to Apply False Eyelashes (The Method We Recommend in Manufacturing + Training)
This guide is for anyone applying strip lashes, half lashes, or DIY clusters at home (and for salon owners/educators who want a repeatable teaching method). By the end, you’ll be able to: size correctly, control glue, place the band cleanly, and fix the most common failures (inner corner lift, twisting, popping off, and irritation).
As a lash manufacturer and product development partner, we see the same “why won’t these stay on?” problems traced back to three things: incorrect sizing, too much (or too wet) adhesive, and placement that fights the eyelid curve. Let’s solve those.
Before You Start: Choose the Right Lash Type for Your Skill Level
Strip lash (full band)
- Best for: fastest application, bold looks, consistent shape.
- Hardest part: inner corner placement + band sitting flush.
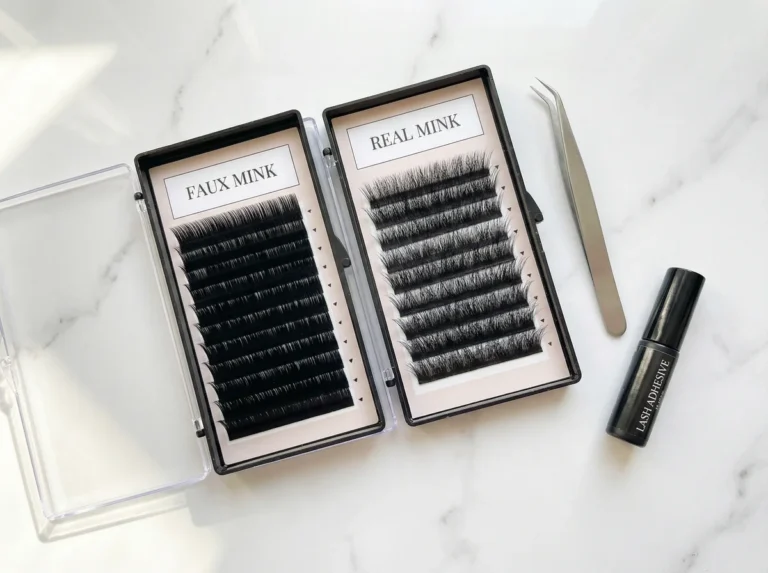
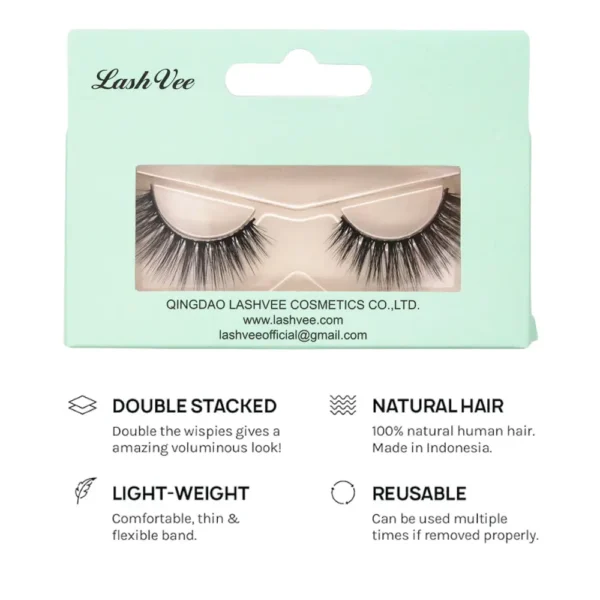
Product example: Faux Mink Wispy Eyelashes Superfine Eye Lashes, Natural, 3–13mm
Half lash (outer ½–⅔ band)
- Best for: beginners, cat-eye effect, less inner-corner lifting.
- Why it works: you avoid the most sensitive/awkward inner corner.
DIY clusters (under-lash “segments”)
- Best for: customizable mapping, lighter feel, more “extension-like.”
- Hardest part: keeping distance from the waterline and avoiding stickiness.
If you’re new: start with a thin, flexible band strip or a half lash. Thick rigid bands require more technique to sit flush.
Tools + Products Checklist (Keep It Simple)
| Item | What to look for | Why it matters |
|---|---|---|
| Lash adhesive | Clear or black; brush tip helps control (example: LashVee Striplash Adhesive Clear Glue for DIY Lashes) | Glue control = clean band + less irritation |
| Tweezers or lash applicator | Fine tip with grip | Precise placement without poking the eye |
| Small scissors | Sharp, clean | Clean trims prevent jagged corners |
| Mirror | Place it slightly below chin level | Helps you see the lash line (not the lid) |
| Cotton swabs | Lint-free | Quick cleanup before glue sets |
| Oil-free cleanser | No residue | Oil breaks adhesion |
| (Optional) eyeliner | Thin line | Hides band and gives a “track” for placement |
Safety note: FDA advises using care with false lashes/adhesives because reactions and irritation can occur in the delicate eye area.
Step-by-Step: Strip Lash Application (Reliable, Repeatable Method)
This is the “repeatable” strip-lash method we teach because it works across most band types (cotton thread, clear band, molded band) and most adhesives (clear/black, brush-tip/tube). The goal is a band that sits flush on the lash line, doesn’t twist, and doesn’t lift at the inner corner.
Step 0: Safety + prep rules (don’t skip)
- Wash hands before you start and avoid sharing eye products/tools. Health authorities highlight hygiene as a key prevention step for eye irritation/infection.
- Don’t apply or remove lashes in a moving vehicle—that’s specifically called out in FDA eye-cosmetic safety guidance.
- If you’ve had prior reactions, check the adhesive label/ingredients and expiration date, and consider a small skin spot test (AAO suggests this approach for lash adhesives used near the eyes).
- If you get swelling, significant pain, or vision changes, stop and seek medical advice rather than forcing removal.
Step 1: Prep the eyelid so the adhesive can bond
Why this matters (manufacturer QA view): Most “won’t stick” complaints are adhesion failures caused by oil, skincare residue, or powder sitting between the glue film and the skin.
Do this:
- Clean the eyelid and lash line with an oil-free cleanser. Dry fully.
- If you’re wearing base makeup, keep foundation/concealer off the lash line (or re-clean the lash line after makeup).
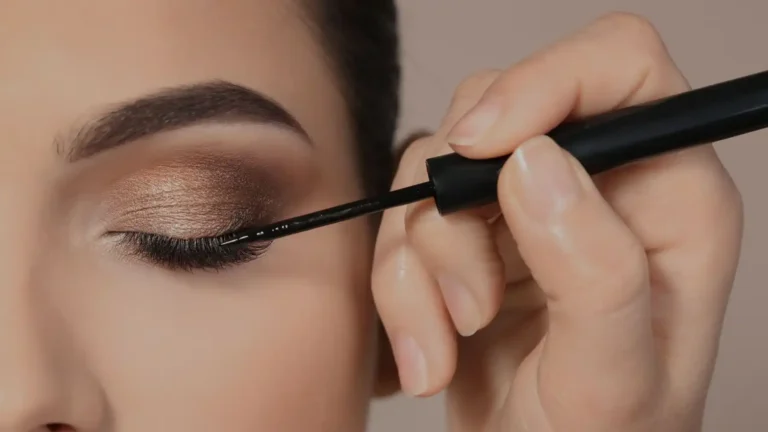
- Optional: apply a thin eyeliner “track” (a narrow line right at the lash base). This helps camouflage and gives you a visual guide.
Quick check: Touch your lash line with a clean fingertip—if it feels slick, tacky, or powdery, re-clean.
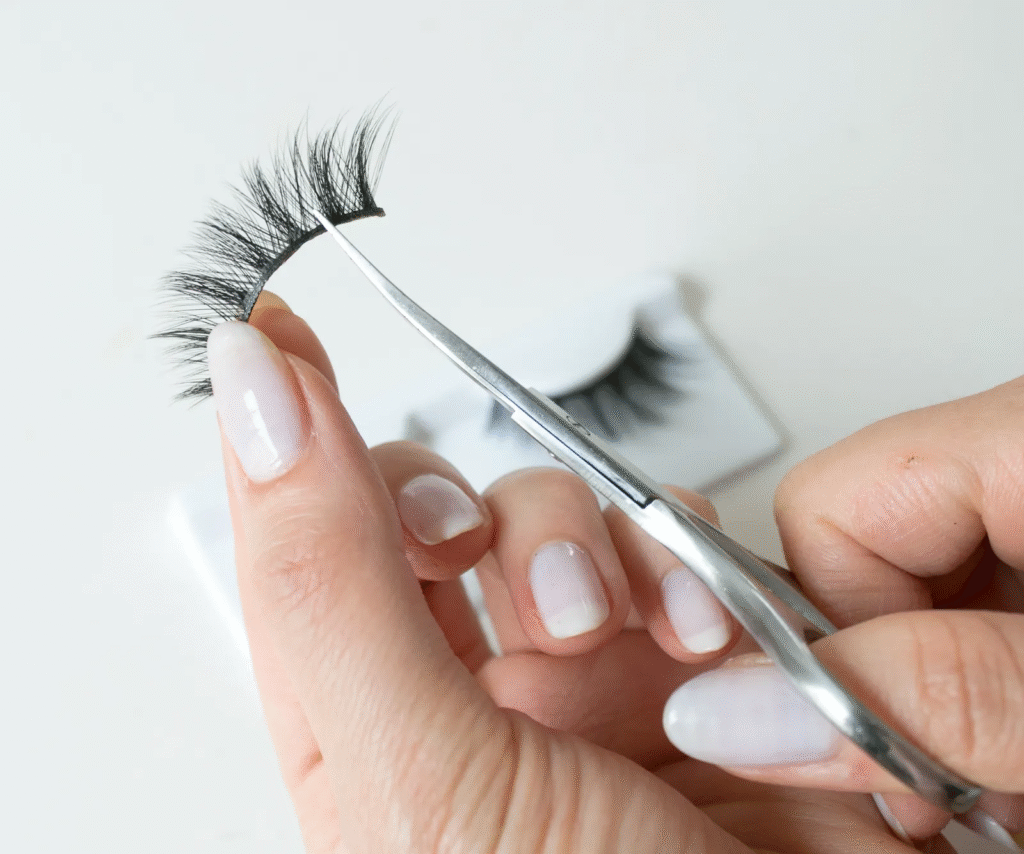
Step 2: Fit (size) the strip lash before any glue
Your sizing target: The band should end before it hits the delicate inner corner and before it pokes the outer corner. In most real eyes, that means the strip is slightly shorter than you think.
How to fit correctly:
- Hold the lash against your lash line with no glue.
- Align it where you actually want it to sit:
- Inner start point: leave about 1–2 mm away from the tear duct area (comfort + less lift).
- Outer end: stop before the band presses into the outer corner fold.
- Mark where to cut with a clean liner pencil (optional).
- Trim from the outer end (most lash styles are designed with a shorter inner corner and a longer outer corner).
Common fit mistakes (and what they cause):
- Too long: inner corner lifts, band buckles, eye waters.
- Inner corner too close: poking + persistent lift from blinking.
- Cutting the inner corner: makes the inner corner too thick/blunt and harder to hide.
Real-world scenario: If your inner corner lifts every time, 7 out of 10 times it’s not “bad glue”—it’s an overlong band that has nowhere to sit without buckling.
Step 3: Pre-shape the band (so it matches your eyelid curve)
A strip lash is manufactured on a curved form, then stored in a tray. If the band gets flattened in storage (or it’s a stiffer molded band), it will fight the eyelid curve.
Do this band-conditioning step:
- Gently flex the lash into a “U” shape for 10–15 seconds.
- You can also wrap it around a clean brush handle to encourage curvature.
What we look for in sampling/QC: A good strip should “relax” into a curve easily and not spring flat immediately—band stiffness is a major comfort and lift factor.
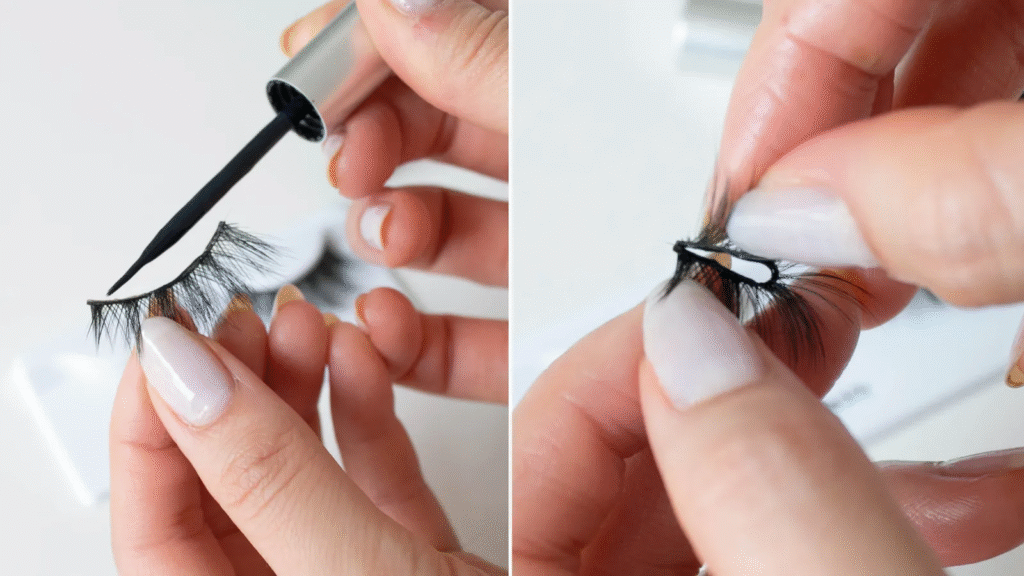
Step 4: Apply adhesive the controlled way (thin, even, tacky)
FDA notes that false eyelashes/adhesives are considered cosmetics and should meet applicable safety and labeling requirements, and that irritation can occur around the delicate eyelid area.
1. How much glue?
Less than you think. You want a thin, continuous film—not blobs. A thick bead stays wet longer, slides around, and can seep onto the lash fibers.
Practical glue rule: Apply just enough that you can still see the band edge and there are no “droplets” hanging.
2. Where exactly does glue go?
- Run adhesive along the band from end to end.
- Add a micro-extra touch at both corners (inner + outer). Those are the first to lift.
3. Wait for the right “tack stage”
Place too wet = slip and crooked placement. Place too dry = it won’t grab.
Tack test (easy):
- Lightly tap the glue with a clean tool. It should feel sticky, not wet and not stringy.
Tack timing changes with:
- Adhesive formula (fast tack vs slow tack)
- Room humidity and airflow
- How thick you applied it
4. Optional pro trick for slick eyelids: “two-point anchor”
If you have oily lids or a thicker band:
- Put tiny glue dots at the center, inner, and outer points on the band (in addition to your thin line).
- This creates “anchors” that reduce drift while you adjust.
Step 5: Place in the correct sequence (center → outer → inner)
This is the most important repeatability principle.
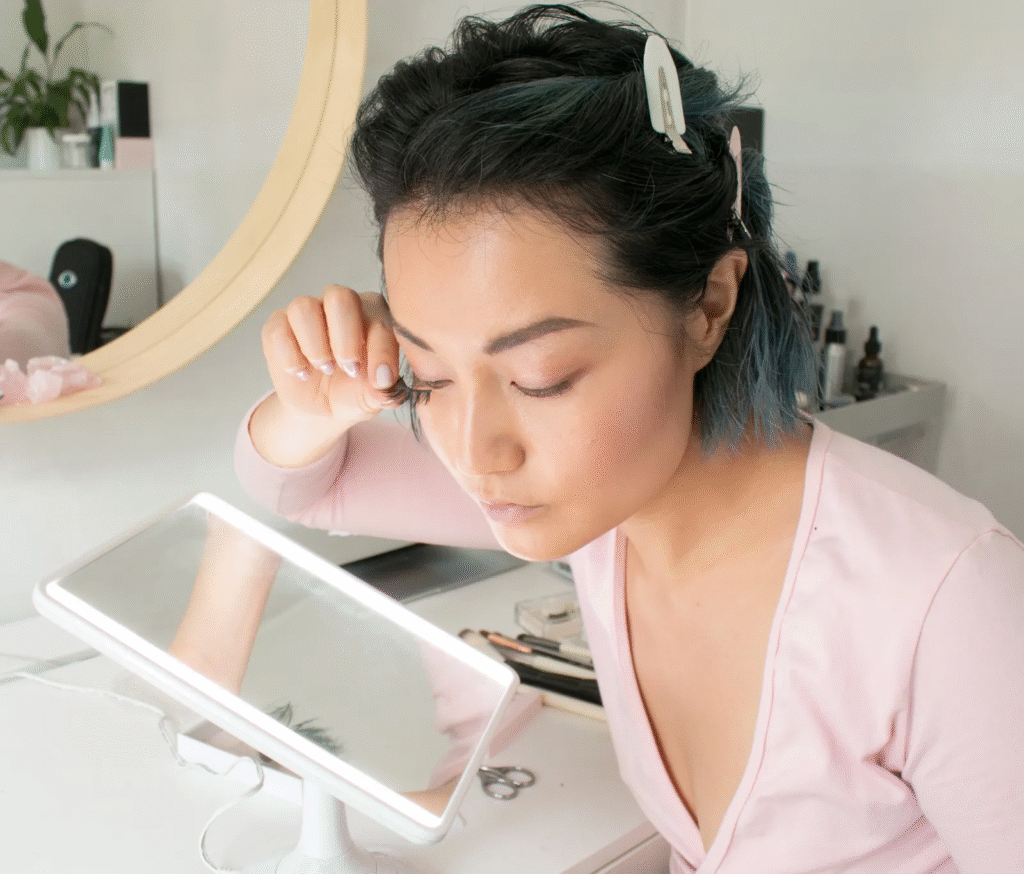
Mirror setup (makes placement 2× easier):
- Put the mirror slightly below chin level.
- Look down into it so your lid is more stretched and the lash line is visible (instead of trying to place lashes straight-on).
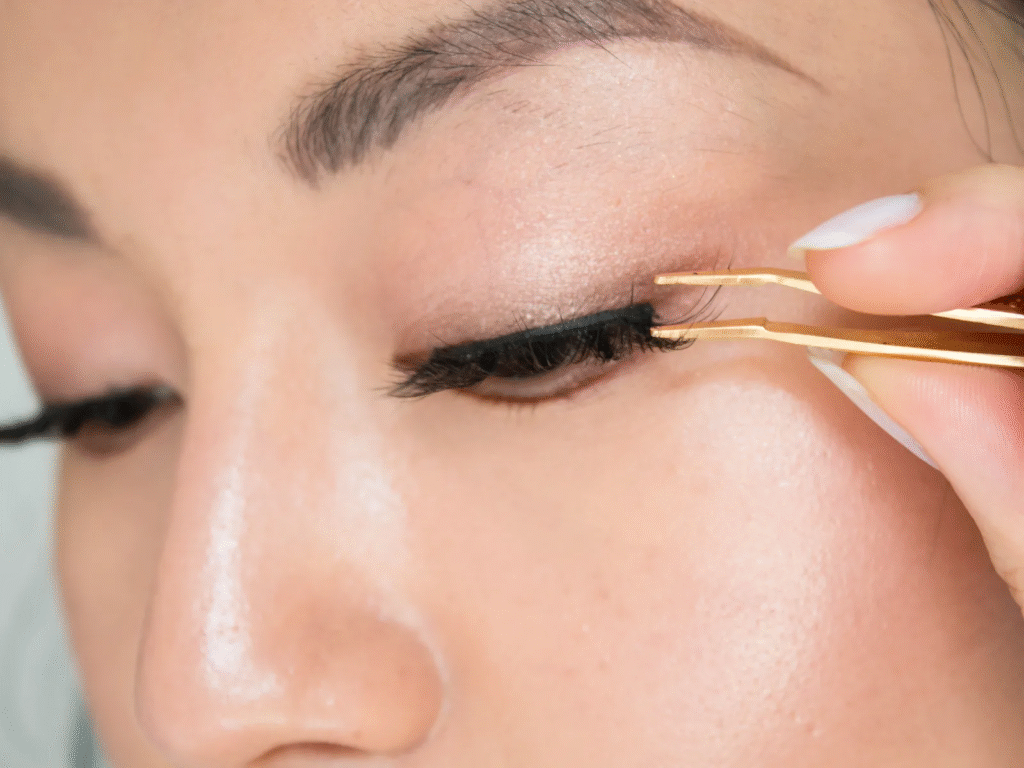
Placement sequence:
- Anchor the center first
Place the band directly on the lash line at the center. Don’t worry about corners yet. - Set the outer corner
Rotate/slide the outer end into position so it follows your lash line (not your eyelid skin). - Set the inner corner last
Use tweezers/applicator to place the inner corner precisely—this is the most sensitive part.
Angle note (why inner corners lift): If the inner corner points “up” instead of following the lash line, it will pop up as your eye waters or you blink. The inner corner should lay flat and forward along the lash line.
Step 6: Press, fuse, and seal (without crushing the fibers)
You’re not just sticking the lash down—you’re fusing the band to the lash line so it becomes one continuous contact area.
Do this:
- Press the band down in short sections from center outward using:
- The back of tweezers, a lash applicator, or a clean cotton swab
- Hold each corner for a few seconds.
- Optional: gently pinch natural lashes and strip lashes together at the base to blend.
Avoid: pressing on the fluffy fiber area (it can deform the curl and create gaps at the band).
Step 7: Finish (camouflage + comfort check)
Camouflage:
- Use a thin line of eyeliner to hide any micro-gaps.
- If needed, a light coat of mascara at the base can blend, but don’t overload—heavy mascara can make strips harder to clean/reuse.
Comfort check (should take 5 seconds):
- Blink normally.
- Look left/right.
- If you feel poking, remove and re-fit (usually a sizing issue, not a glue issue).
If you’re irritated or watering:
- Stop and remove—eye-area irritation is specifically noted as a risk in eye-cosmetic safety guidance.
Strip Lash “QC Checklist” You Can Use at Home
These are the same checkpoints we use when evaluating samples for easy application:
Seal: corners pressed and held briefly.
Band condition: no kinks, no twisting, no stiff “flat” memory.
Fit: band ends don’t touch inner tear duct area; outer end doesn’t poke.
Glue film: thin and even; no blobs at corners.
Tack stage: sticky before placement.
Placement: sitting on the lash line (not eyelid skin, not waterline).
Step-by-Step: Half Lash (Easiest for Beginners)
Use the same process, but:
- Align the half lash to start around the center of your iris (or slightly past it).
- Focus on the outer corner angle—that’s what creates the lift.
- Because there’s no inner corner, your success rate goes way up.
Half lash product examples:
- Natural cat-eye: LashVee Naked Half Lashes – Natural Cat Eye Look
- Flare option: LashVee Butterfl’eyes Lashes – Flare Faux Mink
Step-by-Step: DIY Cluster Lashes (Under-Lash Method)
This is the “under-lash” cluster technique (sometimes marketed as “at-home extensions”). The goal is to attach small lash segments to the underside of your natural lashes, close to the lash root—but not on the skin and not in the waterline. Done correctly, it looks seamless and feels lighter than a strip.
Because the eyelid margin is delicate and adhesives can cause irritation or allergic reactions, treat this like a precision application—not a quick makeup step.
What You Need
Core tools
- Cluster lashes (segments) — example: Lashvee DIY Cluster Eyelashes, Manga Spike Fishtai
- Bond (lash adhesive for clusters)
- Seal (topcoat to reduce tackiness; optional but helpful)
- Cluster applicator (curved tip preferred) + spoolie
- Small mirror placed below chin level
- Oil-free cleanser + lint-free wipes
Optional
- Under-eye pad or a small strip of clean tape on the lower lid (to keep lower lashes out of the way)
- Fine-point scissors (if you need to split segments for the inner corner)
QC note (what we see in returns/complaints): most “sticky, clumpy, uncomfortable” outcomes come from too much bond and placing segments too close to the lid margin.
The Placement Rule That Prevents Most Problems
Target zone (important)
- Keep the segment base about 1–2 mm above the waterline/lid margin (on the natural lash shafts only).
- Do not let adhesive touch the skin.
- Do not place segments into the upper waterline.
If you feel sharpness, pulling, or pinching when blinking, you’re usually too close to the lid margin or you’ve fused to multiple natural lashes in different growth directions.
Choose a Simple Map (Lengths + Style)
Pick one of these beginner-friendly maps (all lengths in mm):
| Style goal | Inner → Outer map | Notes |
|---|---|---|
| Natural lift | 8–10–10–12 | Most forgiving; minimal inner-corner work |
| Soft cat-eye | 8–10–12–12 | Outer emphasis; watch outer corner angle |
| Open-eye | 8–10–12–10 | Peaks near center; good for rounder eyes |
Segment count target: usually 4–6 segments per eye depending on your segment width and your eye length.
Step-by-Step Application (Under-Lash Method)
Step 1: Clean and de-oil (this decides your wear time)
- Wash hands.
- Clean natural lashes with oil-free cleanser.
- Rinse/dampen if needed, then dry completely.
- Brush lashes straight with a spoolie.
Pass/fail check: if your lashes feel “slippery,” bond will slide and clump.
Step 2: Pre-stage your segments (faster + cleaner)
Lay segments on a clean surface in order (inner to outer). If your inner corner is narrow, split one segment into a smaller piece.
QC tip: inner-corner discomfort is often a segment that’s too wide for the curvature there.
Step 3: Control the bond amount (the “thin film” standard)
Apply bond in a thin film, not a thick coat.
Two common methods (choose one):
- Method A (most common): apply bond to the underside of your natural lashes, focusing on the lower ⅓ near the root area (still 1–2 mm away from lid margin).
- Method B (more control): apply a very thin coat to the segment base only.
How much is “thin”? When you blink, lashes should not look wet or stringy.
Step 4: Wait for tack (don’t place on wet bond)
Let bond become tacky before placement. Exact timing depends on formula and humidity, so use the tactile test:
- Touch the bond lightly with a clean tool—if it strings, it’s too wet.
- If it feels grabby/tacky, you’re ready.
FDA specifically warns that the eyelid area is delicate and irritation/allergic reactions can occur with eye-area products and adhesives—so minimizing excess product matters.
Step 5: Place the first segment (start slightly outer of center)
- Look down into your mirror (this exposes the underside of lashes).
- Pick up a segment near its middle (not the tips).
- Slide it under the natural lashes and place it in your target zone:
- 1–2 mm above the lid margin
- base parallel to your lash line
- Hold for a few seconds until it grabs.
Why start here: the center/outer-center area is easiest to access and “sets” the angle for the rest of the map.
Step 6: Fuse (press to bond without crushing)
After placing 1–2 segments:
- Use the applicator to gently press natural lashes and segment together at the base area (not at the tips).
- Do short, controlled presses along the segment base.
Avoid: pinching hard enough to bend the segment or glue lashes together across different layers.
Step 7: Continue mapping (work outward, then inward)
- Place the next segment outward (toward the outer corner).
- Then place remaining segments toward the inner corner using smaller pieces if needed.
Inner-corner rule: if it pokes, it’s usually (a) too close to the lid margin, (b) segment too wide, or (c) base angled upward.
Step 8: Seal (reduces tackiness and improves comfort)
Once placement is complete:
- Lightly apply seal to the bonded area (follow your system directions).
- The goal is to neutralize stickiness, not soak the lashes.
If you still feel tacky spots, wait a moment and then add a tiny amount more—over-sealing can make lashes feel stiff.
Step 9: Final QC checks (30 seconds that saves the day)
Use this checklist before you leave them on for hours:
Visual
- Bases are aligned in a smooth arc
- No visible glue clumps
- No segment bases touching skin
Comfort
- No pinching when blinking
- No “pulling” sensation (often means you bonded multiple natural lashes that grow in different directions)
Durability
- Gently brush the tips only. If segments shift, you placed them too wet or with too little tack.

Common Failure Modes and Fixes
| Problem | Likely cause | Fix |
|---|---|---|
| Sticky, lashes clumping together | Too much bond; no seal; placed while wet | Use less bond; wait for tack; apply seal sparingly |
| Inner corner pokes | Segment too wide; too close to lid margin | Use a smaller piece; reposition 1–2 mm away from lid margin |
| Segments fall off quickly | Oils/residue; not tacky; weak fuse | Re-clean; wait longer for tack; fuse at base with gentle presses |
| Feels like lashes are “pulling” | Bonded multiple natural lashes together | Remove and reapply; place on fewer lashes per segment |
| Irritation/watering | Adhesive sensitivity; product too close to eye margin | Remove promptly; discontinue if irritation persists and seek medical advice as needed |
AAO notes risks around lash glues including allergic reactions and other eye-area issues; this is why precision placement and hygiene matter.
Safe Removal + Reuse (So You Don’t Deform the Band)
Strip lashes
- Soften the adhesive with a gentle oil-based remover on the band (not into the eye).
- Peel from the outer corner toward the inner.
- Remove glue from the band by rolling it off with clean fingers or tweezers.
- Store in a tray so the band keeps its curve.
DIY clusters
Follow the system’s remover instructions. Don’t yank—cluster bases can pull natural lashes if the bond is still strong.
If you experience a significant reaction (swelling, pain, vision changes), get professional medical advice rather than trying aggressive removal.
Quick “Pass/Fail” Checklist (Use This Every Time)
- Pass: lash sized correctly (no poking), lid is clean/dry, glue is tacky, center anchored first, corners pressed flush.
- Fail: glue is wet and sliding, band overlaps inner corner, lid is oily, band is too stiff/straight, adhesive touches waterline.
A Buyer/Brand-Builder Note (Why Some Lashes Apply Easier Than Others)
When we help private label buyers spec strip lashes, band engineering drives application success:
- Thinner, flexible bands conform better and lift less.
- Band material influences glue wet-out (how evenly adhesive spreads).
- Packaging trays matter: if the band is stored under tension or flattened, it “springs” off the lid.
If you’re building a lash line, we typically prototype 2–3 band options and run wear/comfort feedback before locking production.
If You’re Sourcing or Building a Line
Core “at-home lashes” examples
- Full strip: Faux Mink Wispy Eyelashes Superfine Eye Lashes, Natural, 3–13mm
- Half lash (natural): LashVee Naked Half Lashes – Natural Cat Eye Look
- Half lash (flare): LashVee Butterfl’eyes Lashes – Flare Faux Mink
- DIY clusters: Lashvee DIY Cluster Eyelashes, Manga Spike Fishtail Lashes
- Strip lash glue: LashVee Striplash Adhesive Clear Glue for DIY Lashes
For salons / educators
For brand-building
- OEM/ODM: OEM and ODM Service
- Contact: Contact Us
Summary
To apply false eyelashes cleanly and get all-day hold:
- Size and trim (usually from the outer end),
- Pre-bend the band to your eye curve,
- Use a thin, even glue line and wait until tacky,
- Anchor center → outer → inner, and
- Press the band flush along the lash line.
If you tell us which lash type you’re using (full strip, half lash, or clusters) and what keeps going wrong (inner corner lift, twisting, or irritation), we’ll give you a tighter fix based on the failure mode.
FAQs
How do I apply false eyelashes so they don’t lift at the inner corner?
Trim the band to stop before the tear-duct area, use a thin glue line, wait until tacky, then place center → outer → inner and hold the inner corner down a few seconds.
How long should I wait after applying lash glue?
Wait until the glue is sticky/tacky (not wet and not stringy). Timing varies by formula, humidity, and how thick you applied it.
Should I trim from the inner or outer corner?
Usually trim from the outer end so you don’t make the inner corner blunt/thick, which can poke and be harder to hide.
What’s the easiest lash type for beginners?
Half lashes tend to be easiest because you avoid the most sensitive inner corner and still get a lifted cat-eye effect.
Why do my strip lashes twist or look crooked?
Common causes: band placed while glue is too wet, band not pre-curved to your eye, or the center anchor wasn’t set first.
References
American Academy of Ophthalmology. (n.d.). Eyelash extension facts and safety.
Government of Canada, Health Canada. (n.d.). Eye cosmetics.
U.S. Food & Drug Administration. (n.d.). Eye cosmetic safety.
Eyelid contact dermatitis + toxic conjunctivitis from acrylate-containing false-eyelash adhesive
Formaldehyde release from eyelash glues (chromotropic acid method; evaluates consumer + professional glues; reports that formaldehyde can be detected/released even when not declared).